Advertisement
Quick Links
Advertisement

Summary of Contents for Toshiba RemotEye III
- Page 1 RemotEye III Quick Installation Guide Windows Users Document No.: 63761-002 Date: August 2015...
- Page 2 RemotEye III Quick Installation Guide – 63761-001...
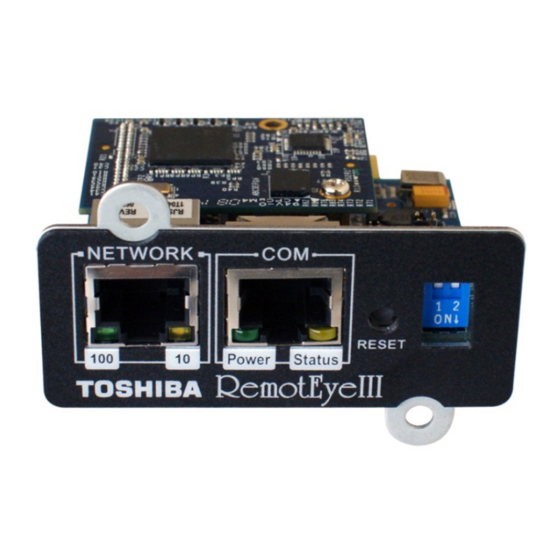
- Page 3 RemotEye III configuration: a) Connect the DB9 female end of the PC cable to the terminal or workstation COM port. b) Connect the RJ45 end of the PC cable to the COM port of the RemotEye III/Internal. Software Setup The direct configuration is accomplished by using the RS232 communication protocol.
- Page 4 Stop Bits — 1 Flow Control —- None Press [Enter] and the RemotEye III version and Password field will be displayed (See Figure 2). Enter the password (default is “ADMIN”) and press [Enter] to display the RemotEye III Main Menu.
-
Page 5: System Group
Toshiba RemotEye III Configuration Main Menu →(1) Toshiba RemotEye III Configuration (see Figure 4: Console Configuration Menu Description). +==================================================================+ [ TIC RemotEye III Configuration Menu ] +==================================================================+ 1. System Group 2. Control Group 3. Parameter Group 4. Email Group 5. EMD Group 0. - Page 6 A web session can be established once the hardware and software have been prepared. Follow these steps to begin configuration: 1. Launch the web browser. 2. Enter the URL for RemotEye III in the browser’s address field. For example, http://10.0.37.189.
- Page 7 To perform a firmware upgrade, RemotEye III must be connected to the same network as the workstation from which the upgrade file is to be sent. In the RemotEye III make sure the Network Upgrade Control is enabled, under RemotEye III Control, and that users have the Admin login string information and Password.
- Page 8 User Manual The full RemotEye III User Manual (P/N 62330) is provided on the enclosed CD in electronic (PDF) format. Contacting the TOSHIBA Customer Support Center TOSHIBA’s Customer Support Center can be contacted to obtain help in resolving any RemotEye III system problem that you may experience or to provide application information.


